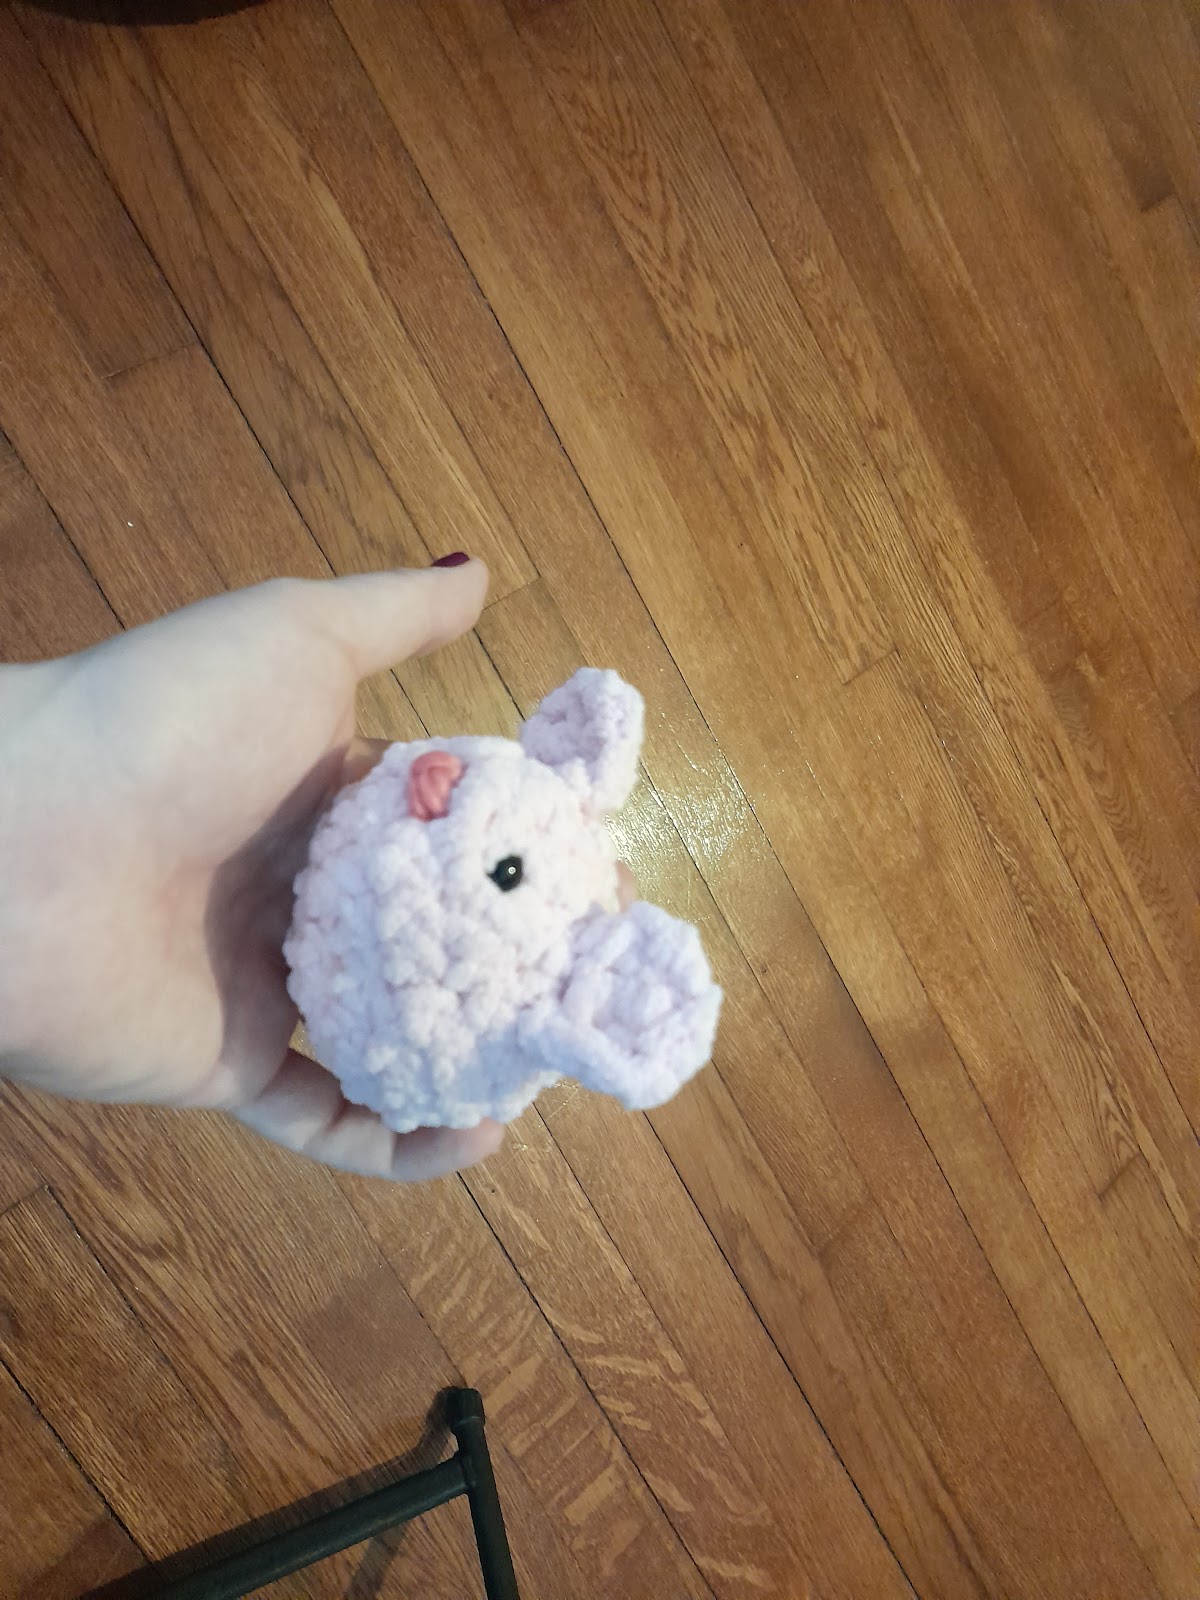
I have been trying to really get back on the crochet horse. It's been a long time. A lot of life changes, and a bit rut I've been stuck in. I hope this post finds you well... and I hope this maybe inspires you a little too. I do hope to make a Mama mouse. This is my first step. :)
Little Mouse
Follow me on Ravelry – Malkyra (although I have been pretty
inactive, trying to re-inspire myself)
Please message me with any questions/comments. 😊
Notes:
·
I used Bernat
Baby Cloud in baby pink. This can be hard to work with if you are a novice, as
the stitches can be hard to see. You can also double-wrap yarn. If you do a single
strand of worsted, might be a bit tiny.
·
I do want to try a
“mommy” version where I double the size (or maybe triple) – so stay tuned.
·
I used scrap
bulky yarn for the nose and tail.
·
The eyes don’t need to be safety if you don’t
want. Can use yarn or buttons or whatever.
·
This pattern is worked in the round using the
magic ring/amigurumi style, except for the ears which are worked in turns.
Materials:
·
J hook
·
Bulky Yarn – main is Bernat Baby Cloud “Baby Pink”
with bulky scrap for rest
·
6mm safety eyes or scrap yarn/buttons
·
Yarn needle
·
Stuffing (poly-fill fiber)
Abbrevations:
MR – magic ring
Sc – single crochet
Dec – decrease
St – stitch
Sk – skip
TO – tie off
Ch – chain
Rd - round
Inc – increase
Sl st – slip stitch
MAIN PATTERN
MR – 6
Rd 1: increase
in each – 12
Rd 2: [inc, sc]
around – 18
Rd 3-5 (3
rounds): sc in each – 18
Rd 6: [sc, dec]
around – 12
Rd 7: sc in
each – 12
Rd 8: [sc, dec]
around – 6
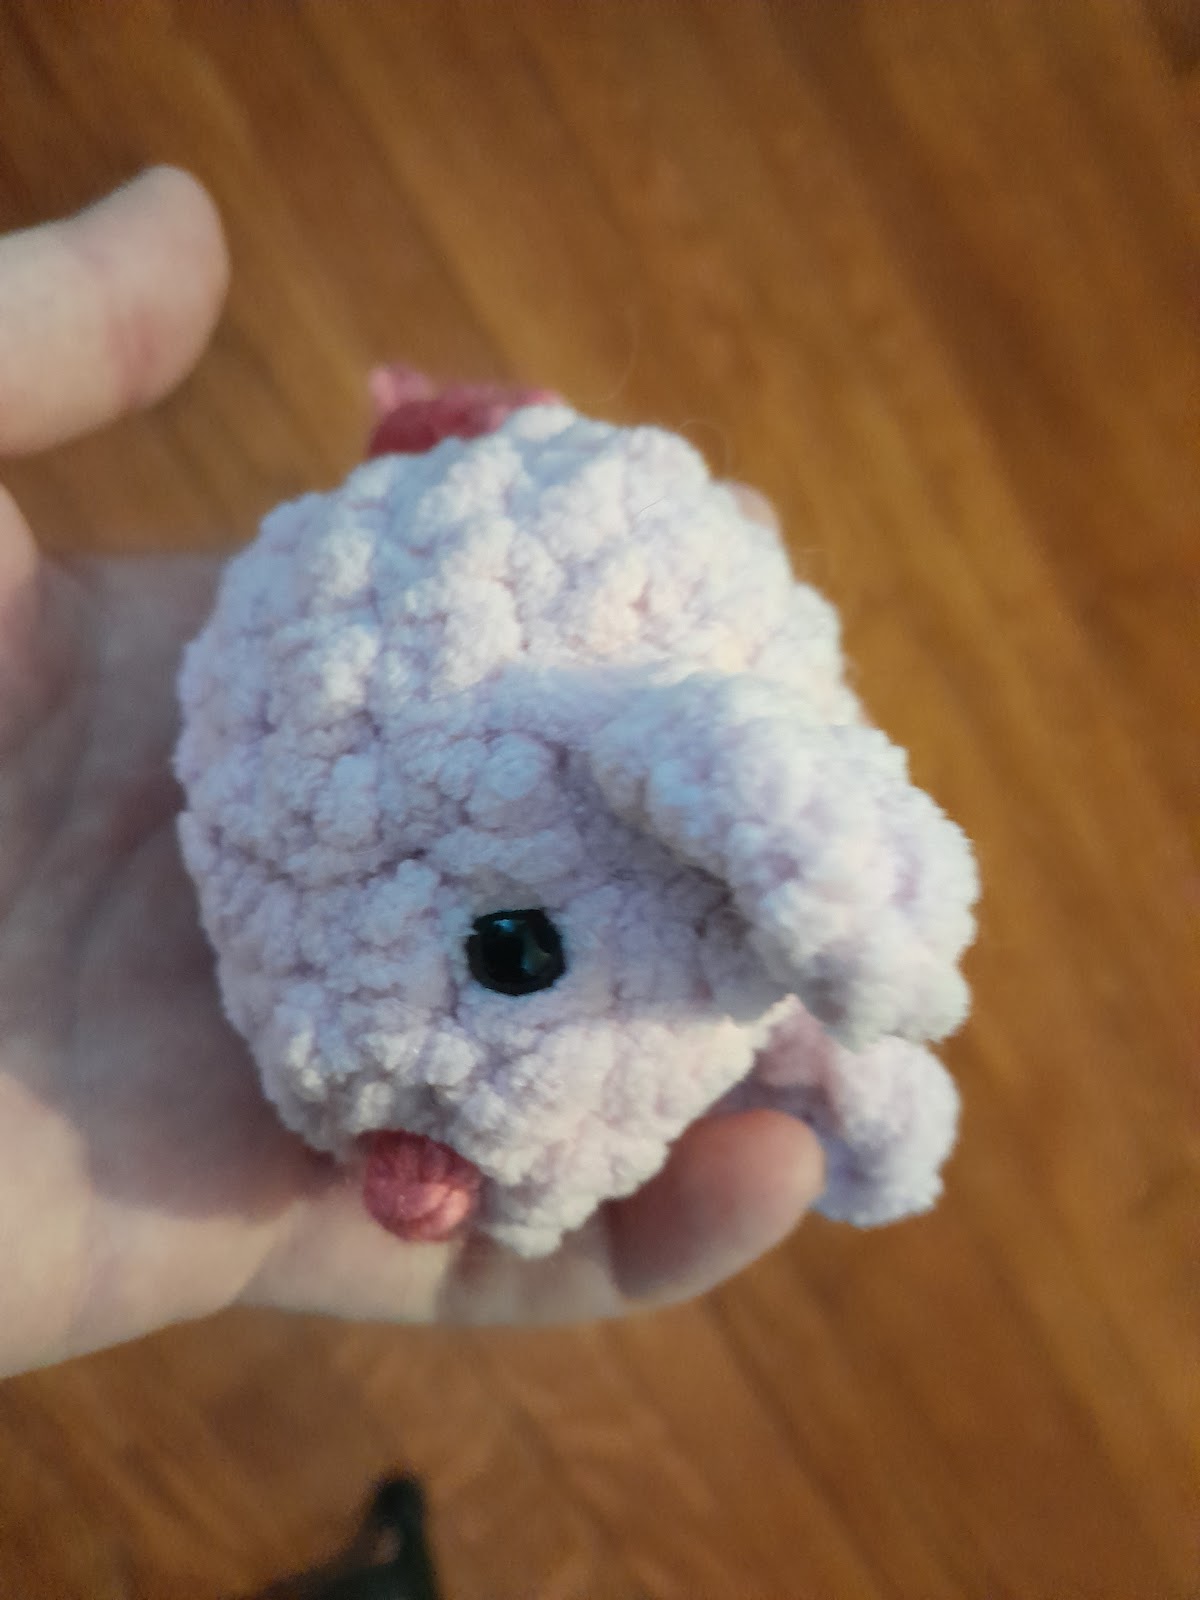
Stuff lightly.
If you are
using safety eyes, place them on the previous round – about 3 sts apart.
Rd 9: [sc, dec]
twice, then sk and TO to close.
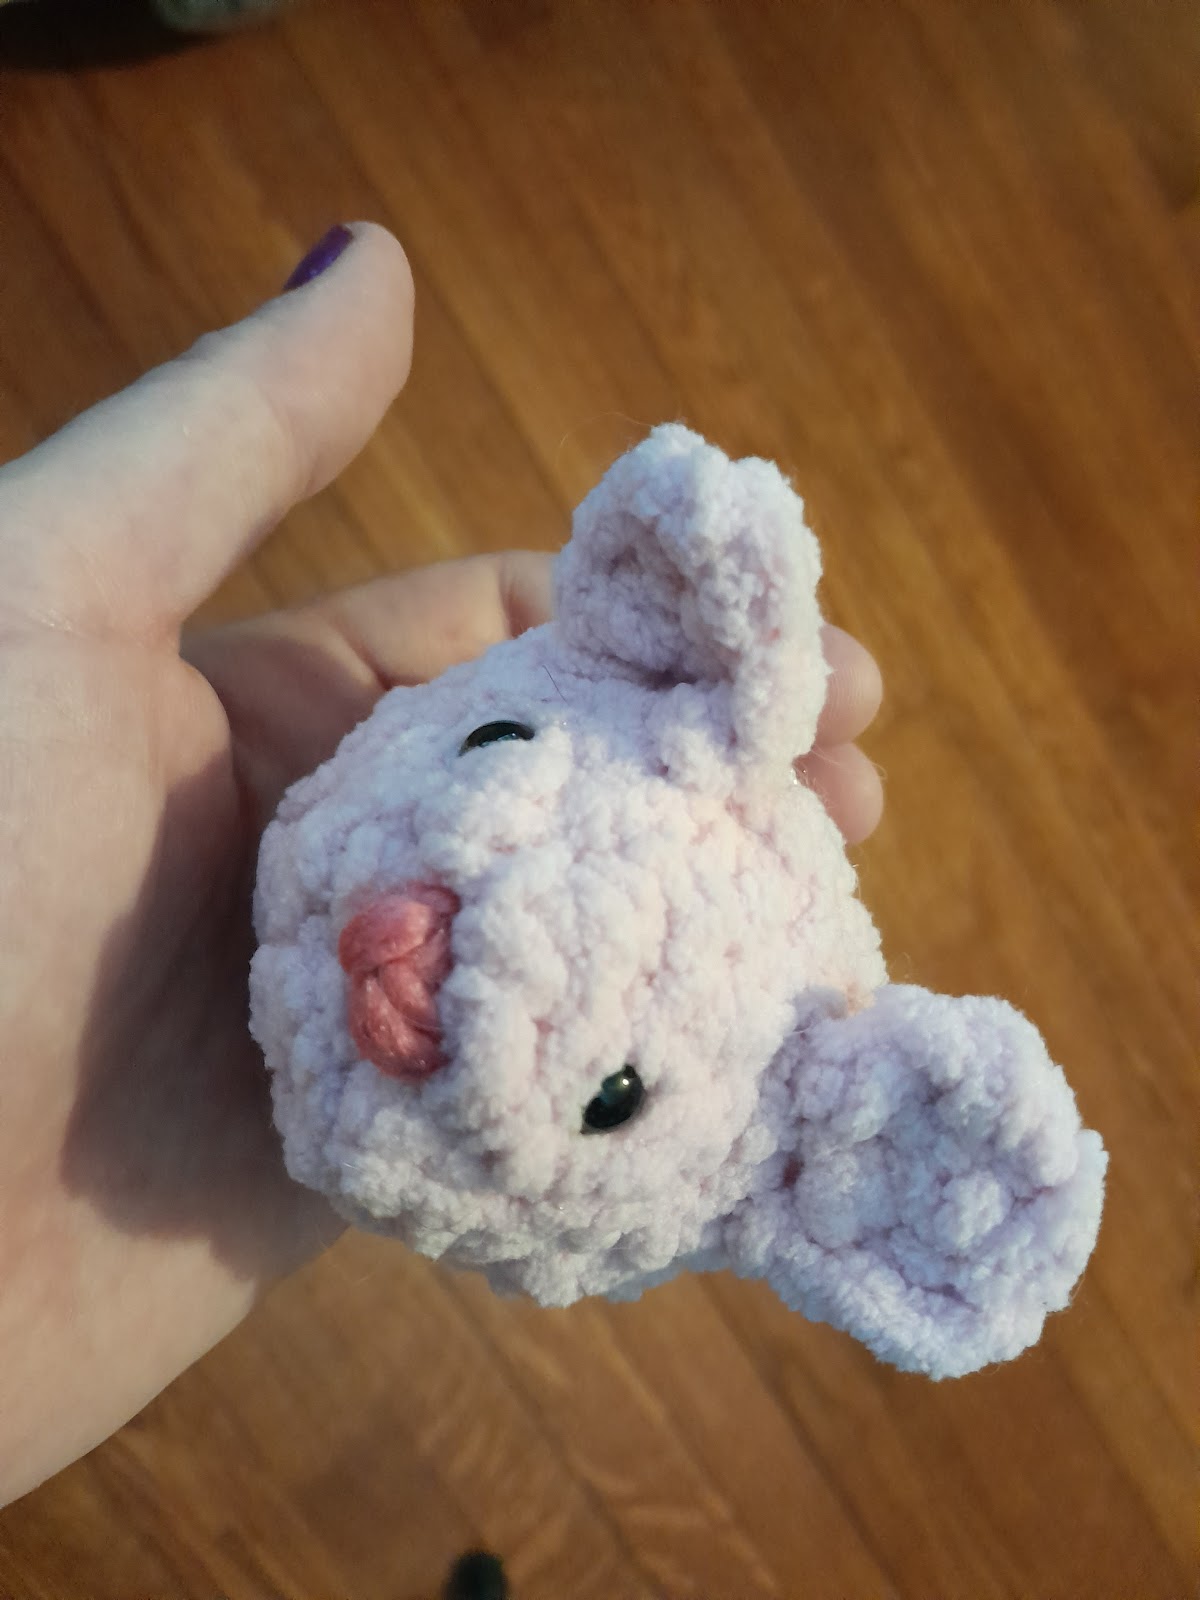
Nose
I took the
secondary color, cut a length, pulled it into place with the needle, knotted,
and tucked each end back inside with the hook.
Ears
(In main color;
turning after each end – in other words, working in rows)
Ch3 + 1 to turn
Row 1: sc in 3,
+1 to turn
Row 2: sk 1st
st, sc in next two, +1 to turn
Row 3: sk 1st
and sl st to last st, TO.
No comments:
Post a Comment